If you have ever wanted to make a dynamic tag within Elementor a link, you will come to find that when you place the before or after text within the Advanced options, it makes those parts of the link as well. Well, what if you wanted to have ONLY the dynamic tag be the portion that has the link on it? In this article, we will go over how to make only a dynamic tag a link and not the “before” or “after” text.
To do this, we’re assuming that you have Elementor Pro, ACF, and access to the functions.php file of your theme. Also, you’re probably wanting to do this within a custom loop using Ele Custom Skin.
Adding the Shortcode for Link on Dynamic Tag Only Code
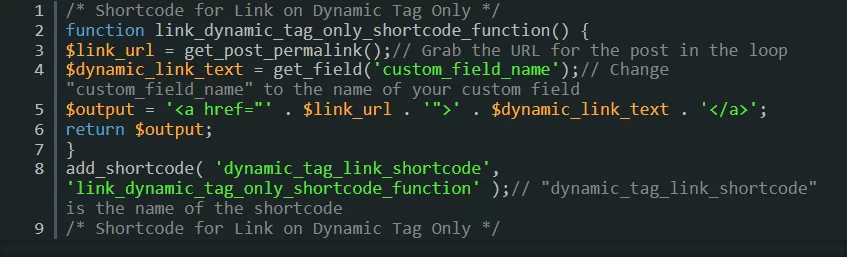
The first thing you will want to do is copy the following code and paste it into your theme’s function.php file. What this code does is it makes a shortcode for your dynamic tag link that you can utilize elsewhere:
/* Shortcode for Link on Dynamic Tag Only */
function link_dynamic_tag_only_shortcode_function() {
$link_url = get_post_permalink();// Grab the URL for the post in the loop
$dynamic_link_text = get_field('custom_field_name');// Change "custom_field_name" to the name of your custom field
$output = '<a href="' . $link_url . '">' . $dynamic_link_text . '</a>';
return $output;
}
add_shortcode( 'dynamic_tag_link_shortcode', 'link_dynamic_tag_only_shortcode_function' );// "dynamic_tag_link_shortcode" is the name of the shortcode
/* Shortcode for Link on Dynamic Tag Only */
Be sure to change the code above to work with your ACF custom field setup. You will also want to copy “dynamic_tag_link_shortcode”, which is going to be the name of your shortcode.
Adding Your Dynamic Tag Widget to Your Page or Loop
In this next step, you can use either the Text Editor widget or the Heading widget. For this article, we’ll be using the Heading widget.
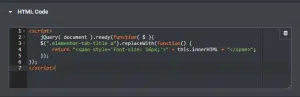
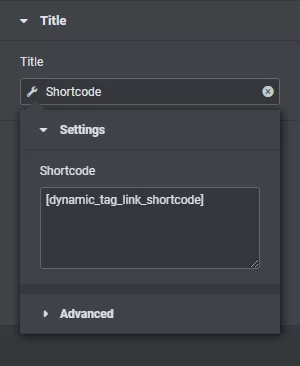
When you add your dynamic tag, normally you would use the ACF Field option. However, we want to use in this case, the Shortcode option.
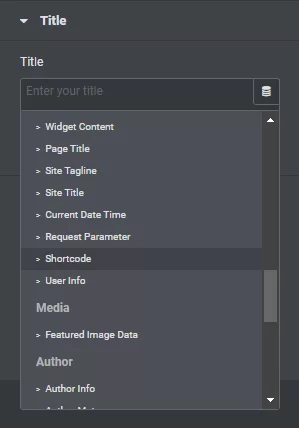
Next, for the actual shortcode, paste what you copied from the functions.php file and add brackets around it like so, [dynamic_tag_link_shortcode].
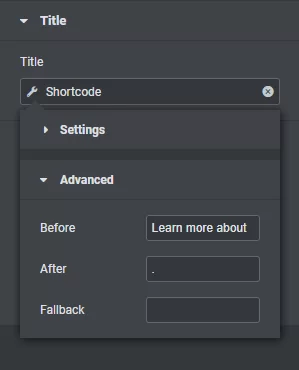
In the “Advanced” options, you can add whatever you’d like that will come before and after the dynamic tag. In this example, we are using “Learn more about ” for the before and “.” for the after. Be sure to include the space at the end of the before, otherwise, your result will look like this, “Learn more aboutthis link”.
That should be it. If you use this in a loop, you will see that each before and after are the same, but the dynamic part that is a link will change both its text and the link.